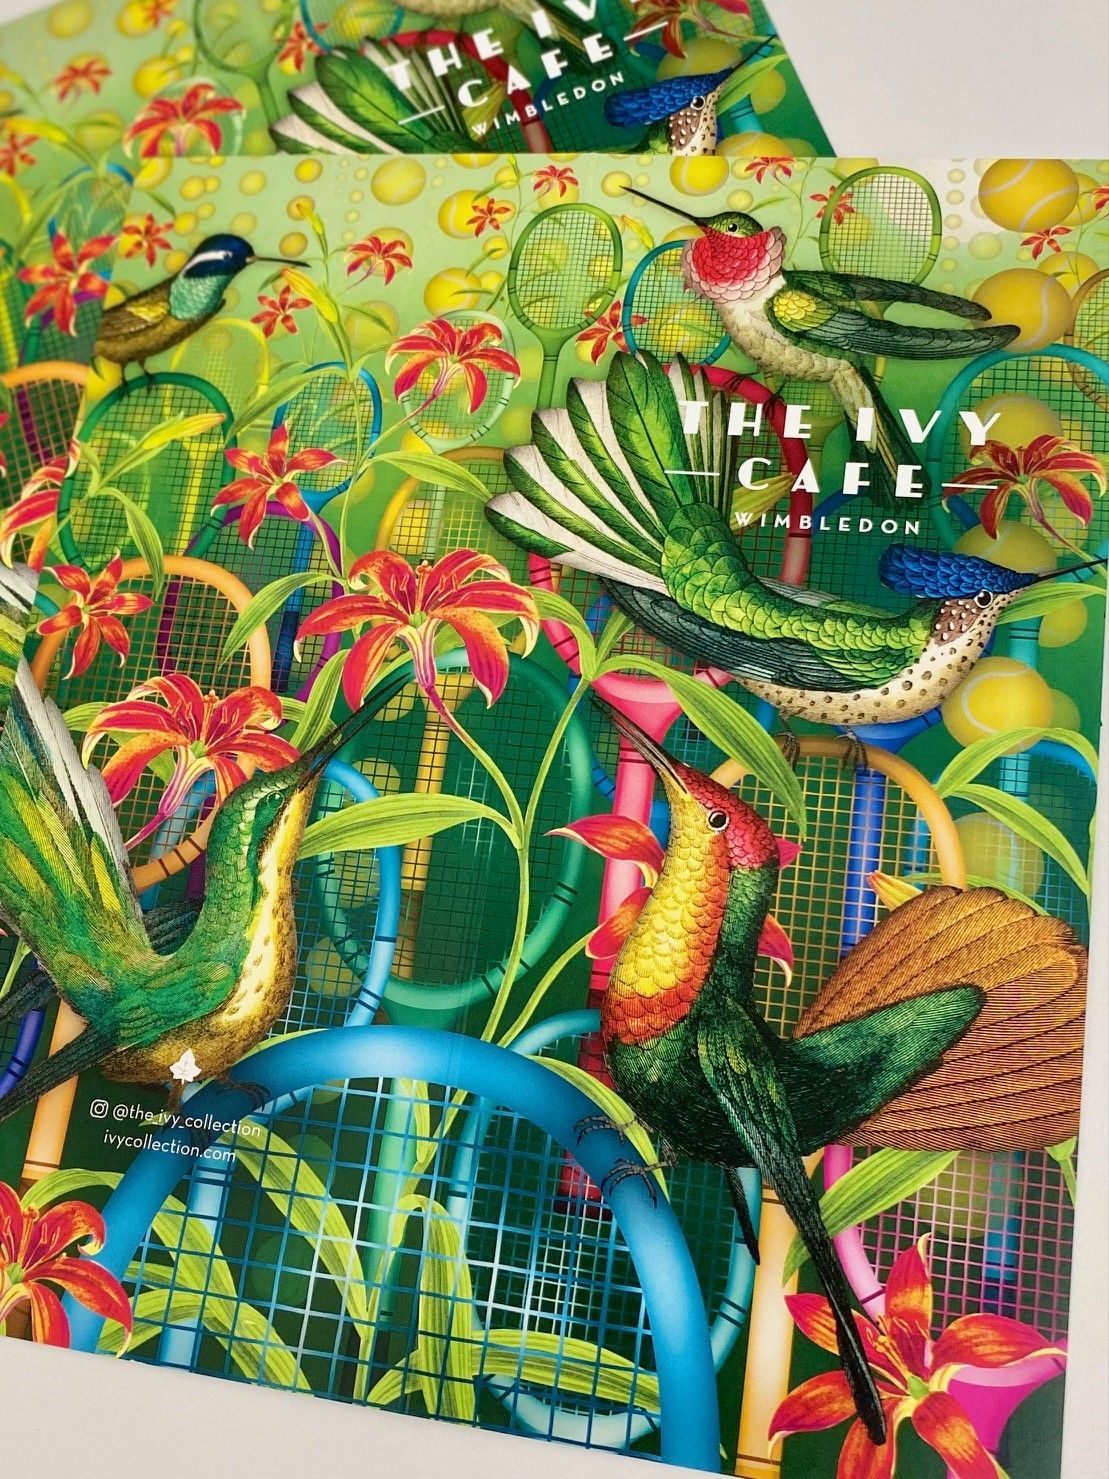
Window vinyls are a great, inexpensive way to get your message in front of potential customers. They can be re-positioned and leave little-to-no residue when removed making them a preferred option for many restaurants, retail outlets, art galleries and many more. With these fun methods of marketing, you can showcase your brand personality, engage your target audience and achieve your goals…
This is the IPW1 'How to Install Window Vinyls in 10 Steps' - check out the detailed video at the end too!
[And do you recognise any of the song titles?]
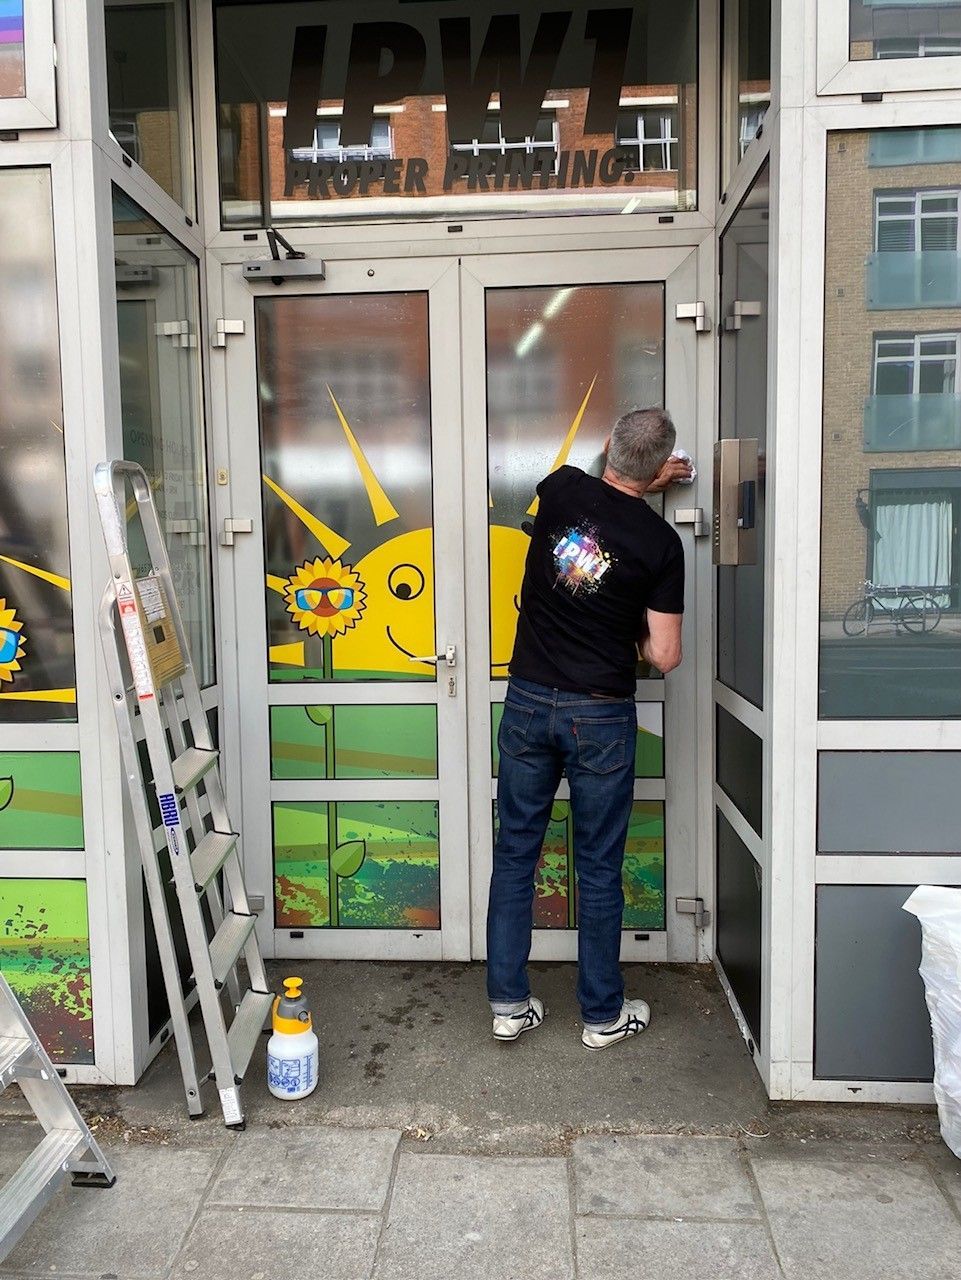
1. Get Rid of the old Vinyl
No, not your classic record collection and do check the weather before you start! Vinyl can be installed pretty much rain or shine, but wind is the installers enemy! Make sure all old vinyl is removed, including all those annoying little pieces! Give the glass a good clean and wipe down.
2. Spray Hill Zone [Rainbow Outliners]
If your vinyl is wet application spray the window, put your vinyl face down and spray with soapy water again. The water solution makes it easy to squeegee from the centre out without trapping air underneath or wrinkling. You can use a credit card or piece of card if you don't have a squeegee. Turn the panel over a carefully peel the backing off then turn the vinyl over, either right to left or bottom to top depending which way you placed in on the window pane. We recommend bottom to top for larger panes.

3. [Brother], Won't You Join in the Line
Carefully match up the art if you have multiple panels or panes, trim off any excess when your design matches exactly, both vertically and horizontally! Reposition twice, cut once!
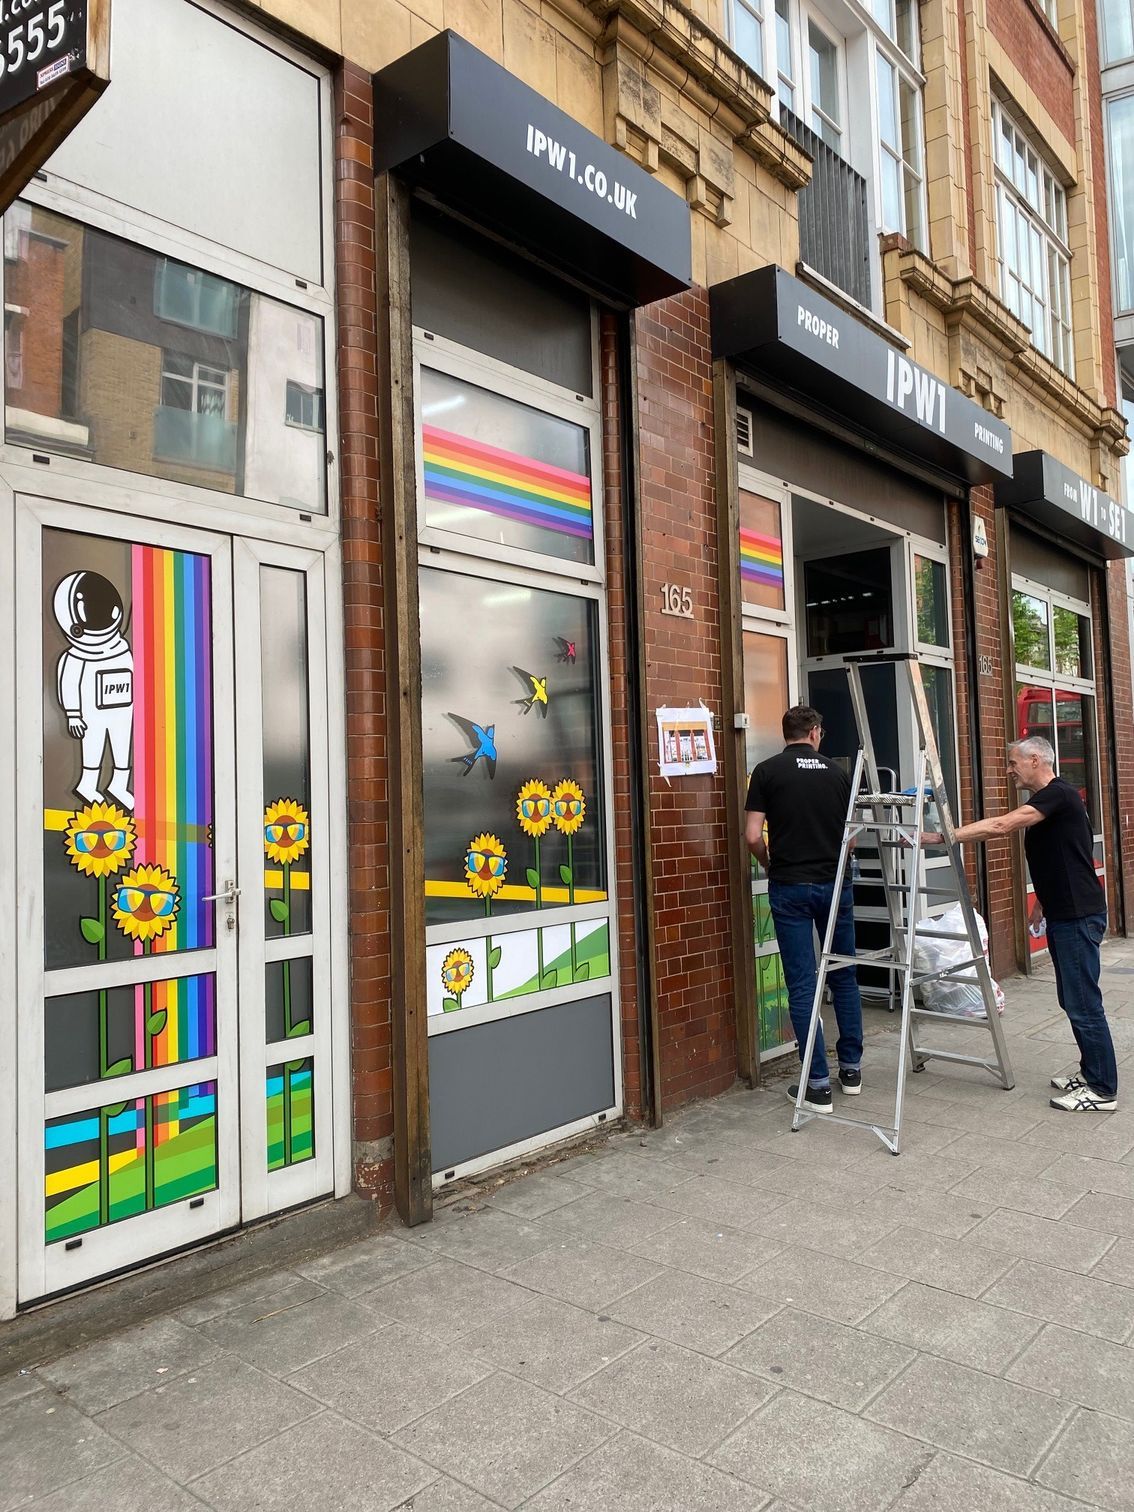
4. Picture - keep your window artwork handy!
If you have a multi pane window, it can be challenging to keep track of each window pane and where it fits in the giant jigsaw puzzle!
Print off a copy of the artwork, we taped it on the wall to keep it handy. And remember, it's just a guide, the actual vinyl will look slightly different. Size DOES make a difference!
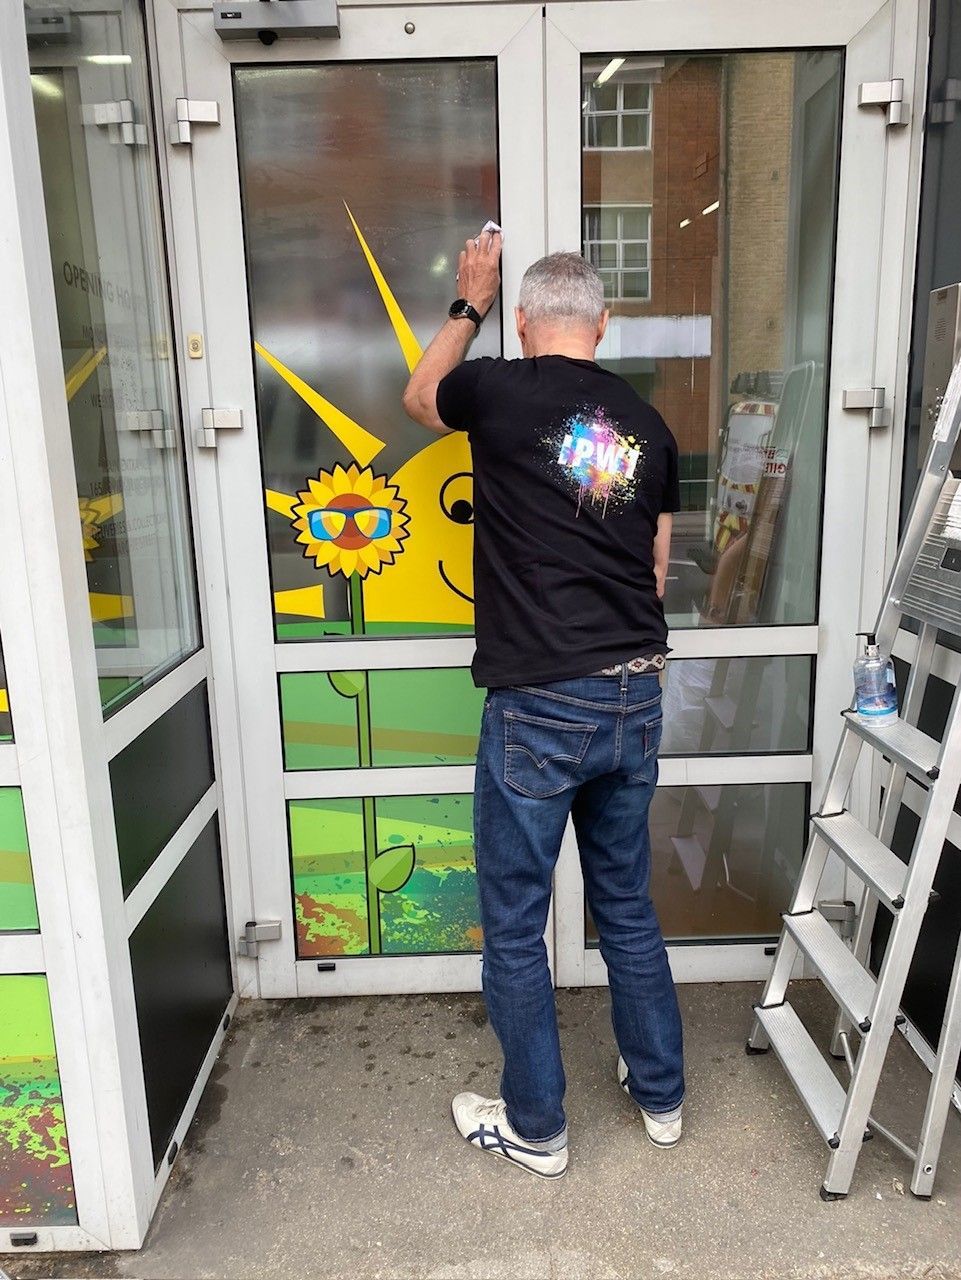
5. Wiping All Out
Think about the wax on and wax off motions in Karate Kid, circular wipes to both dry off the vinyls and push out out any remaining wrinkles and bubbles. Don't be tempted to wipe down too soon, wait for the vinyl to be in position, matched and cut first. Wipe on, Wipe off, don't forget to breathe, very important...
6. I'm Forever Blowing Bubbles
The Cockney Rejects sang, 'I'm forever blowing bubbles, pretty bubbles in the air', and whilst this might motivate the Irons [Irons, Irons!] you do not want bubbles between your window vinyls and the glass! Take your time to push these to the edges, and keep wiping down each vinyl panel. It's a job for life!
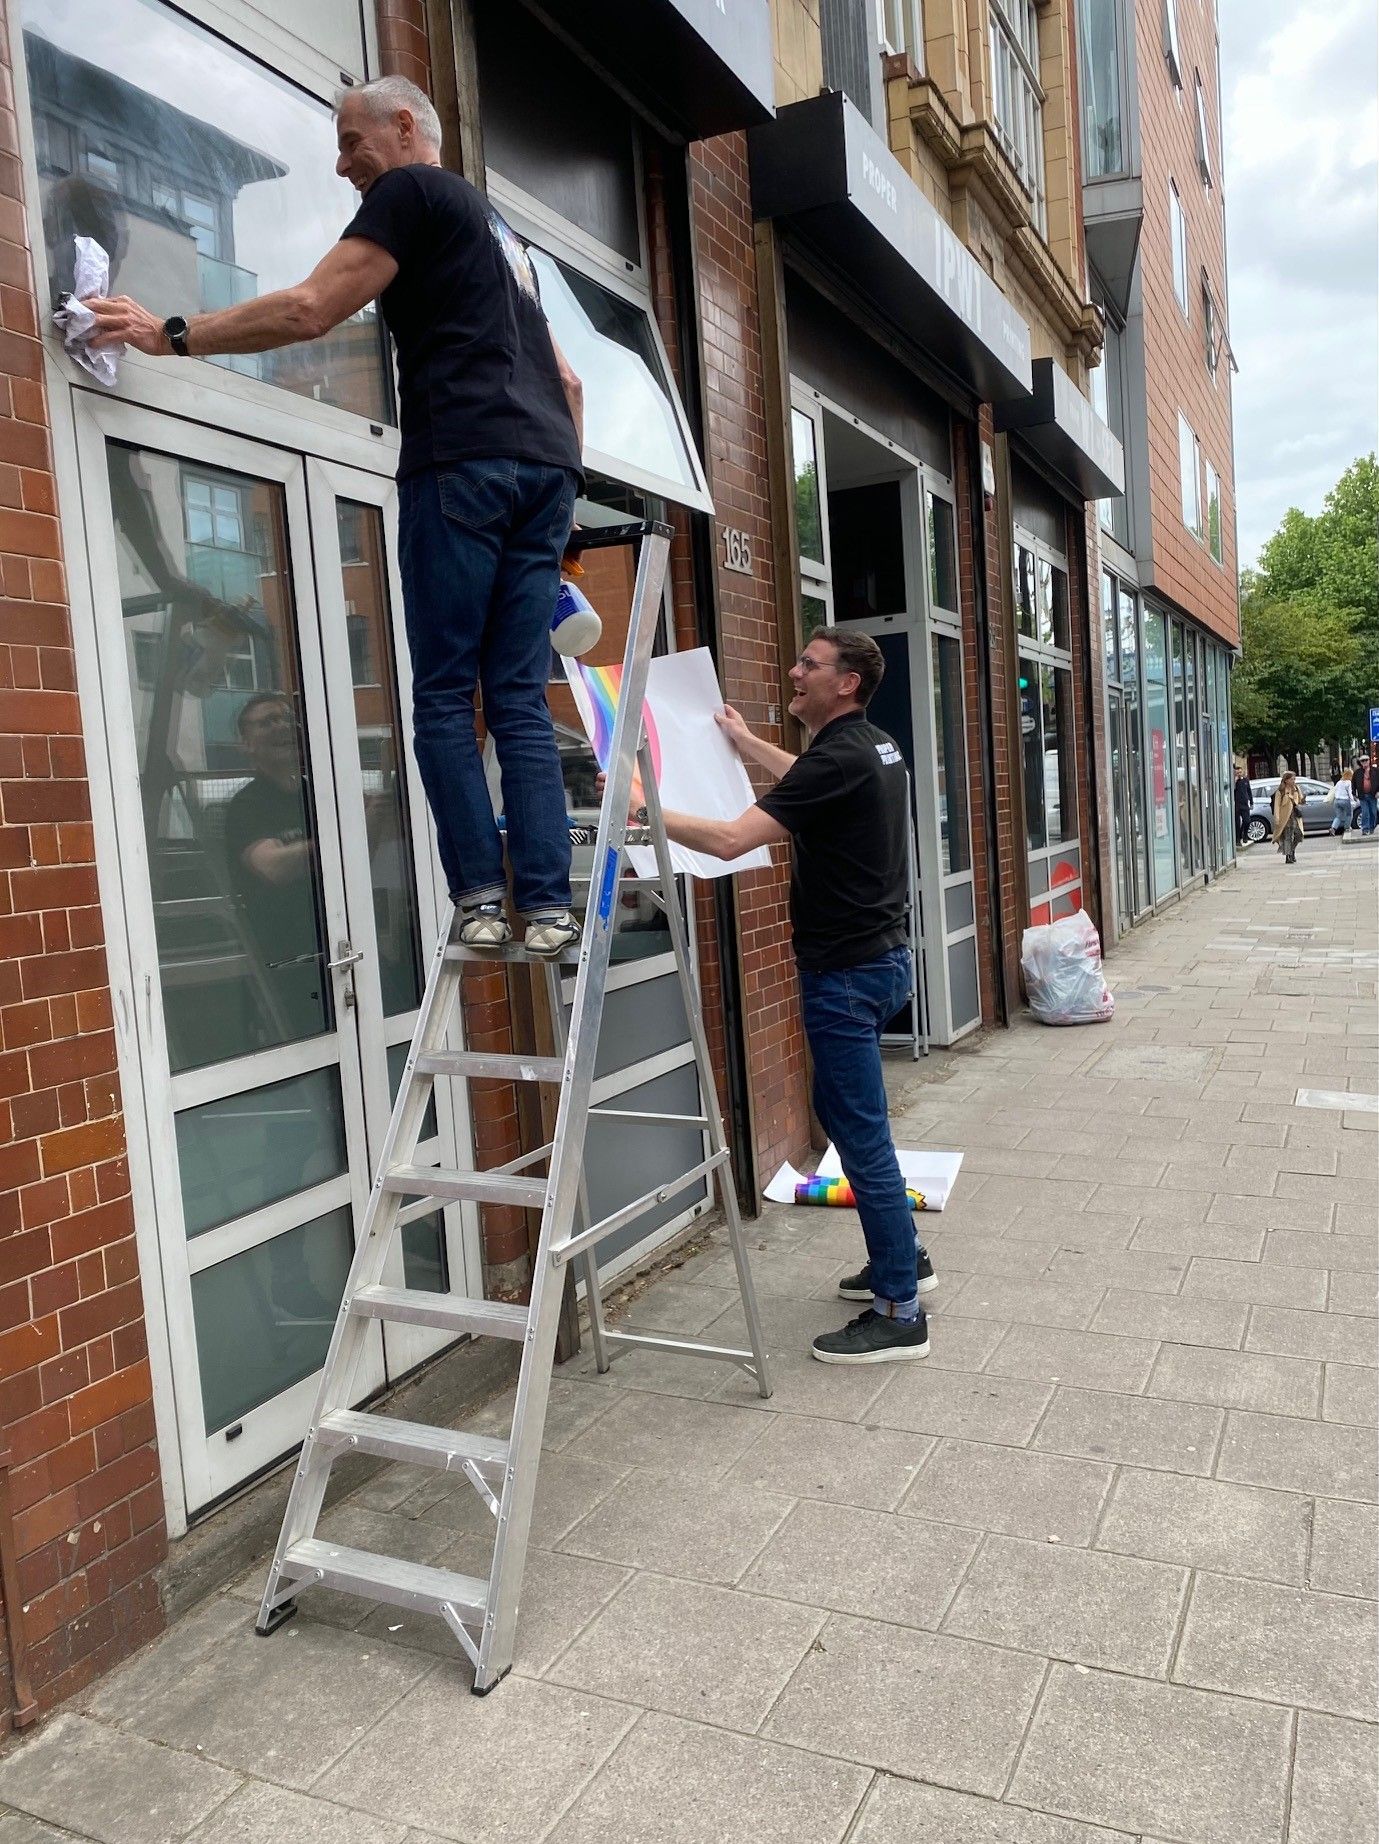
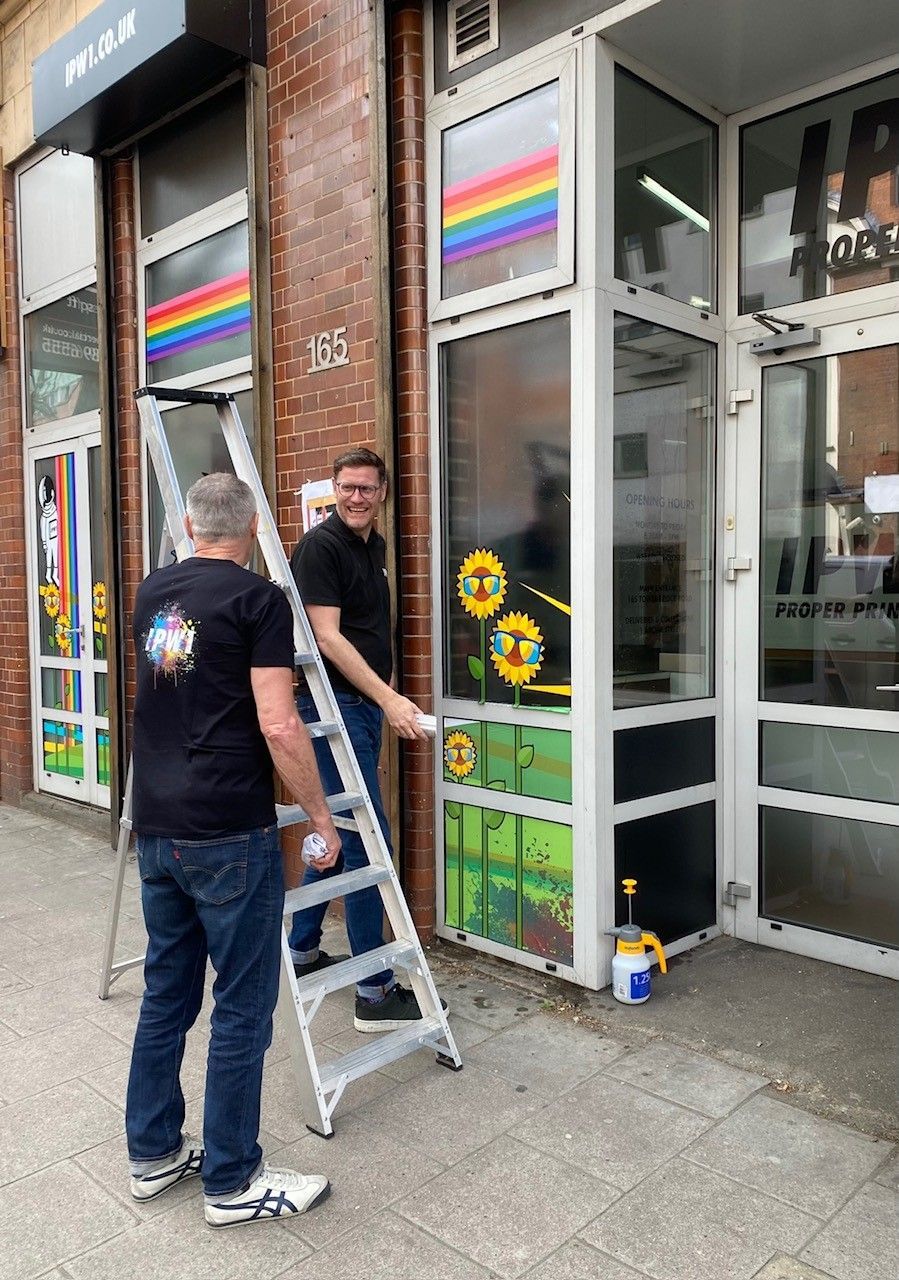
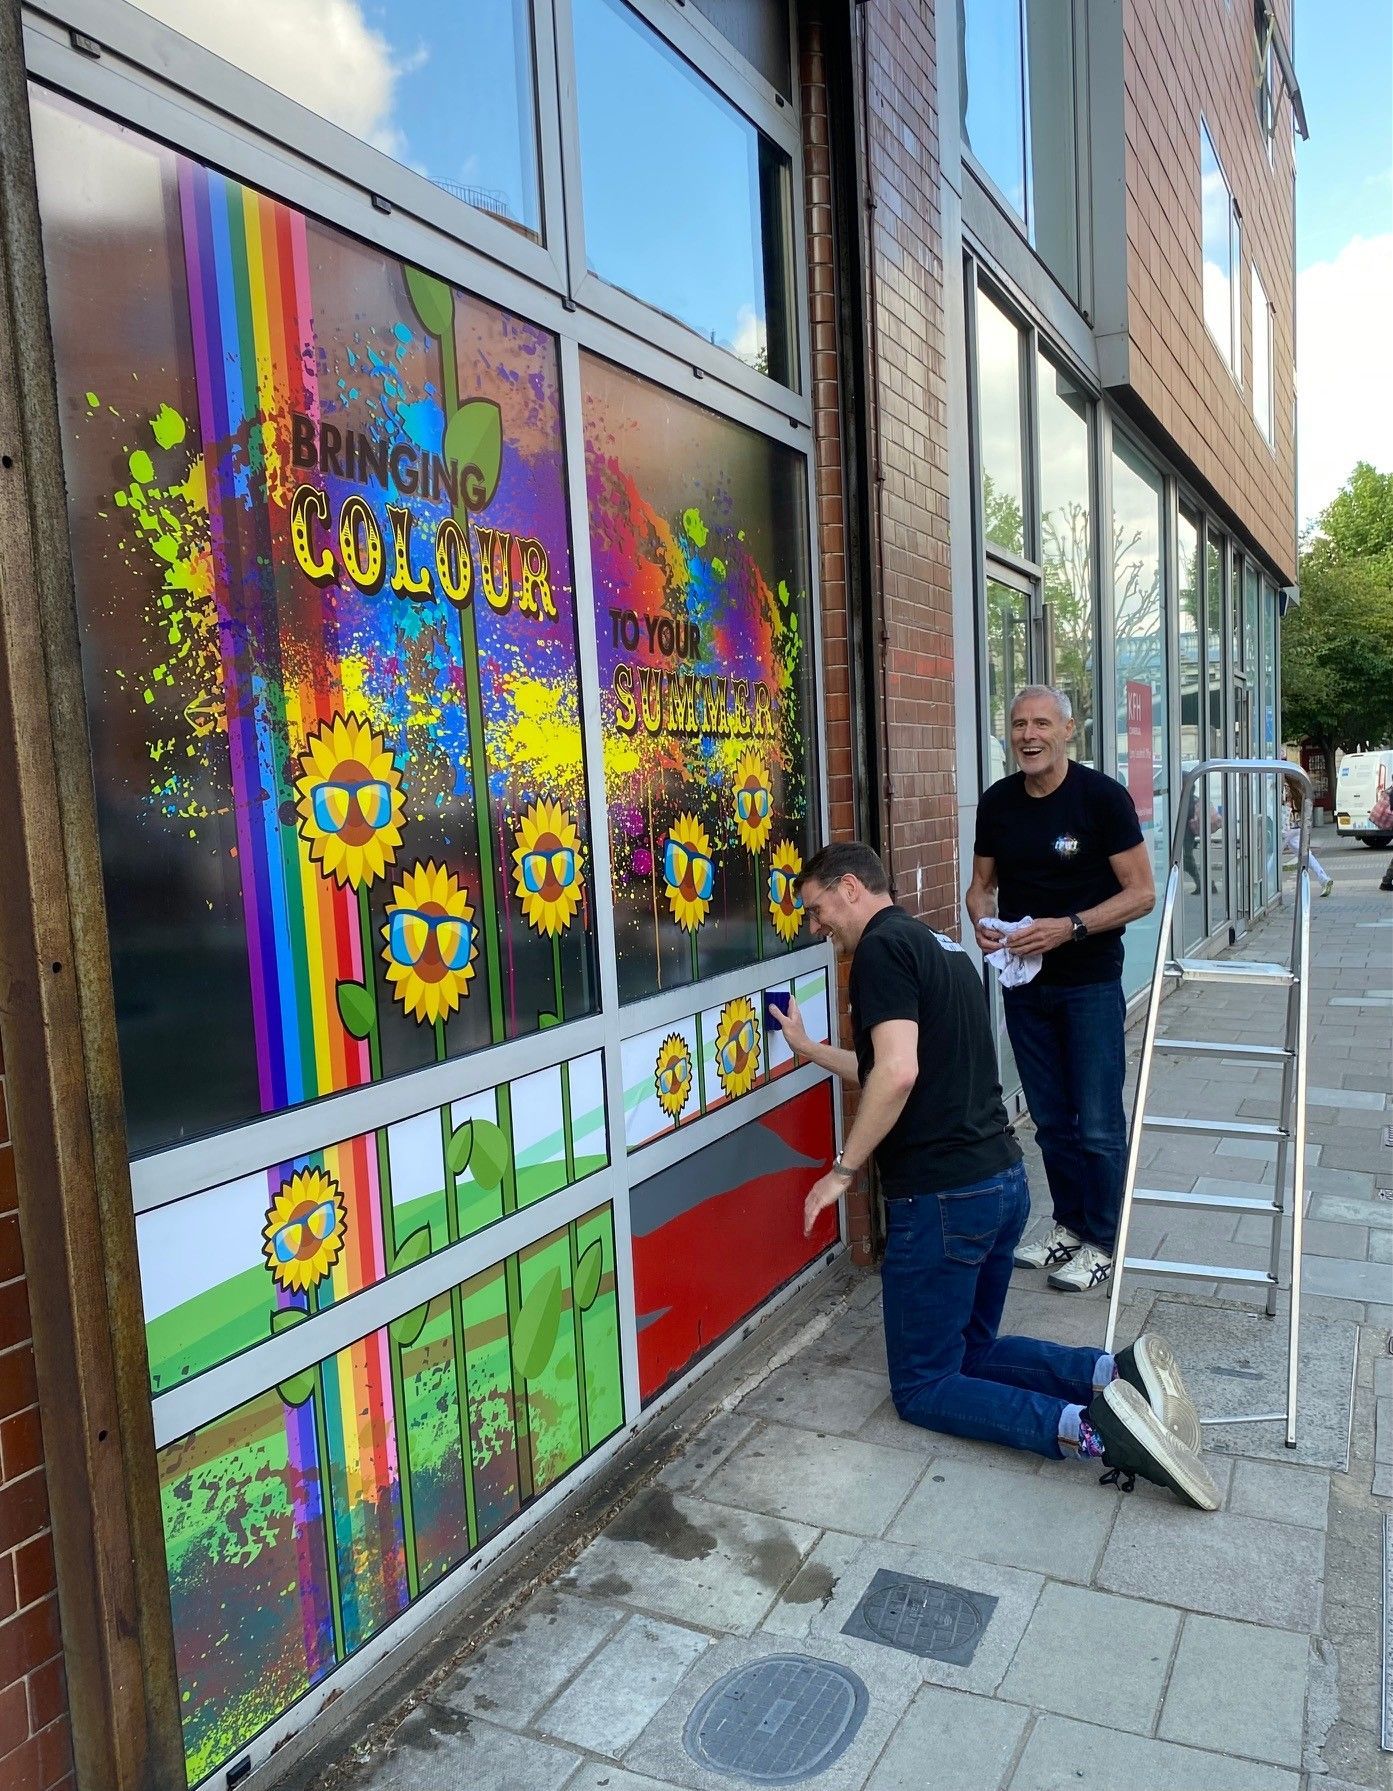
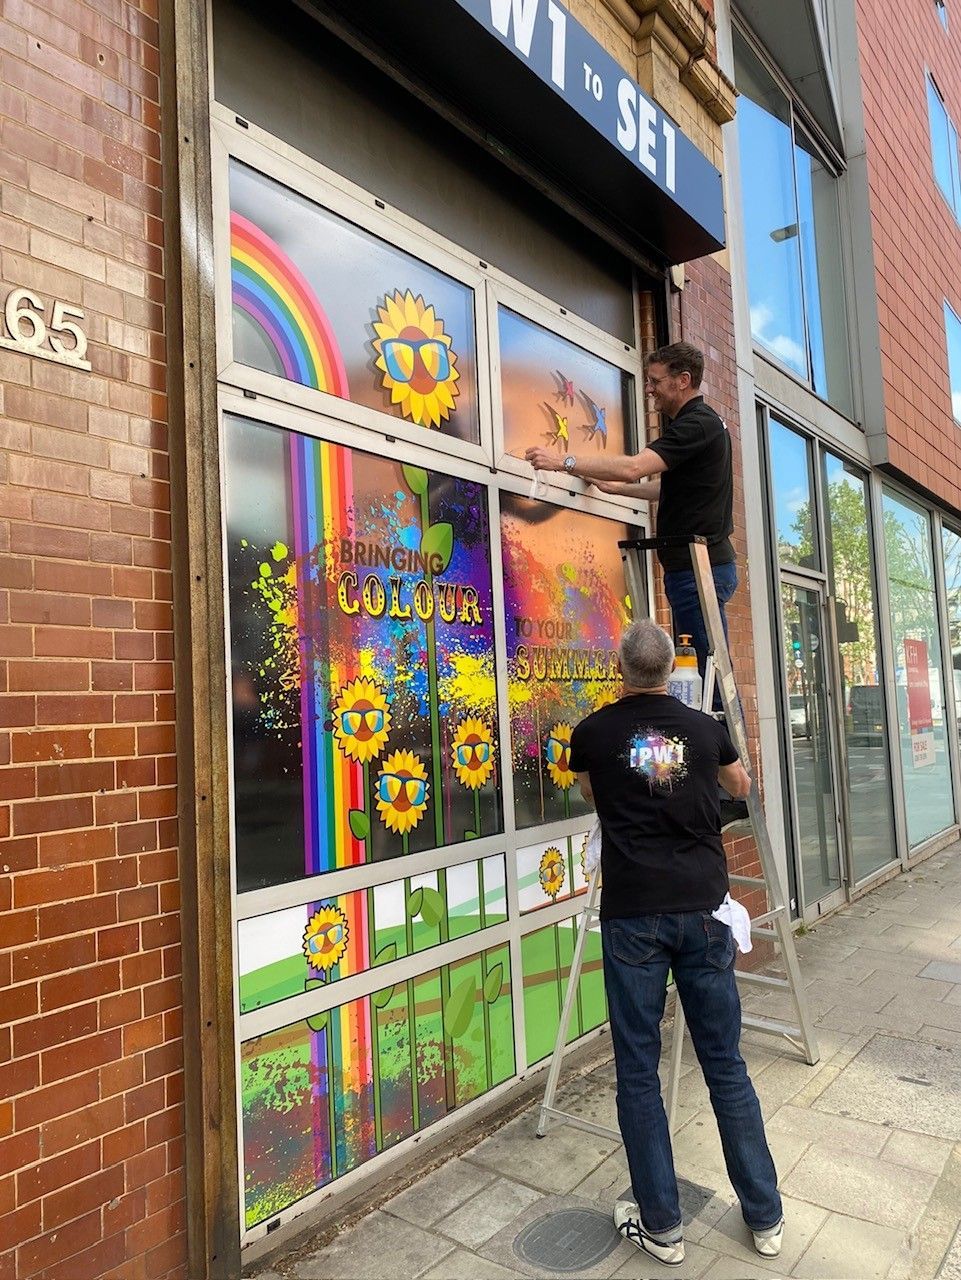
7. Master & the Apprentice
Unless your window is small and you can reach the top of it without a ladder, it really is at least a job for two. The bigger panels might need a hand or your apprentice can stand back, help line up the pattern or design and provide words of encouragement!
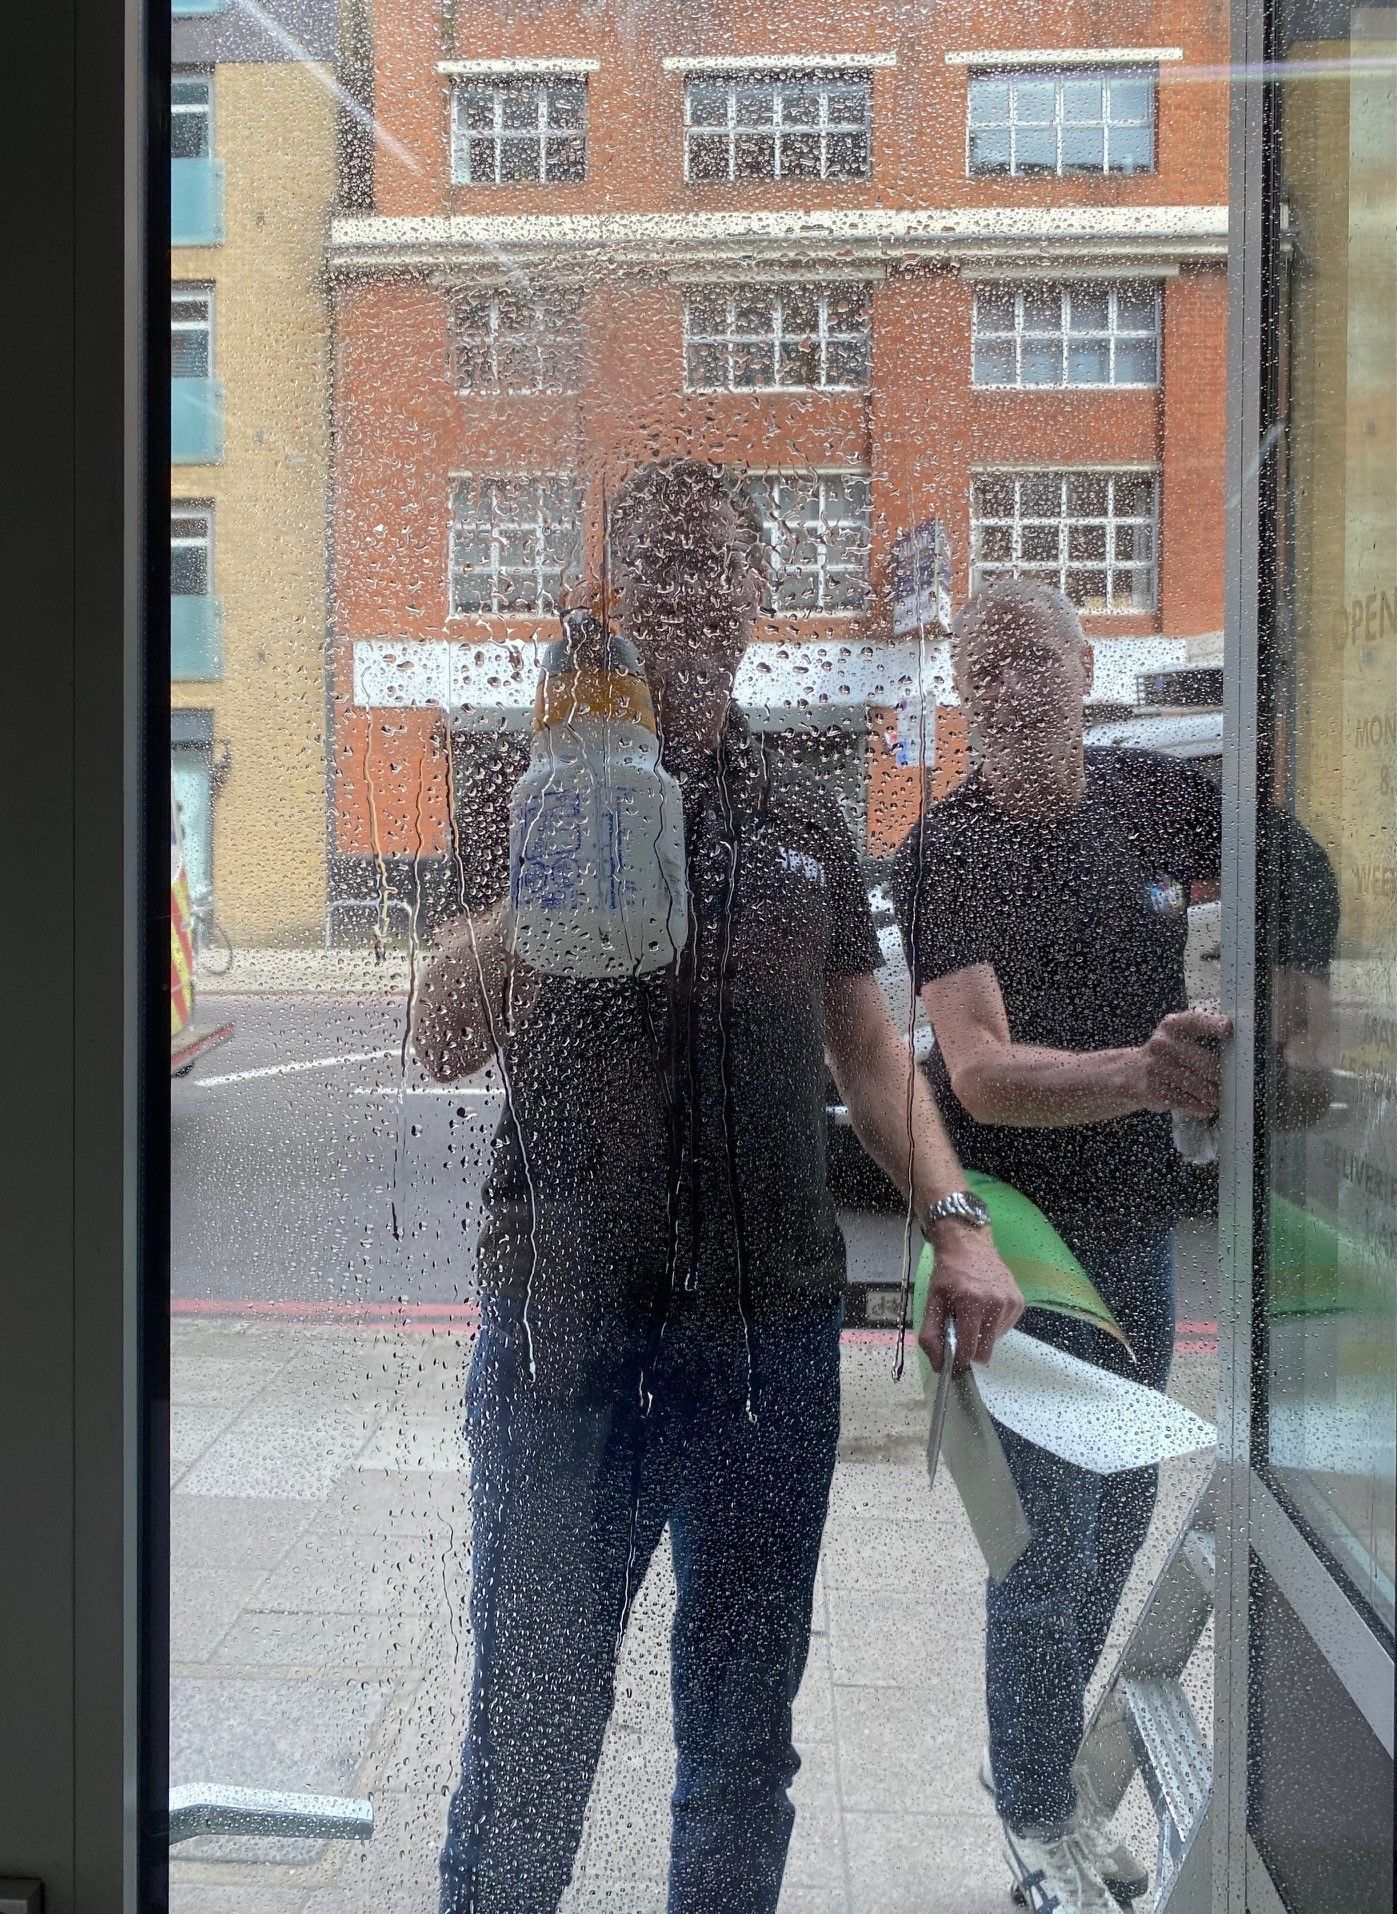
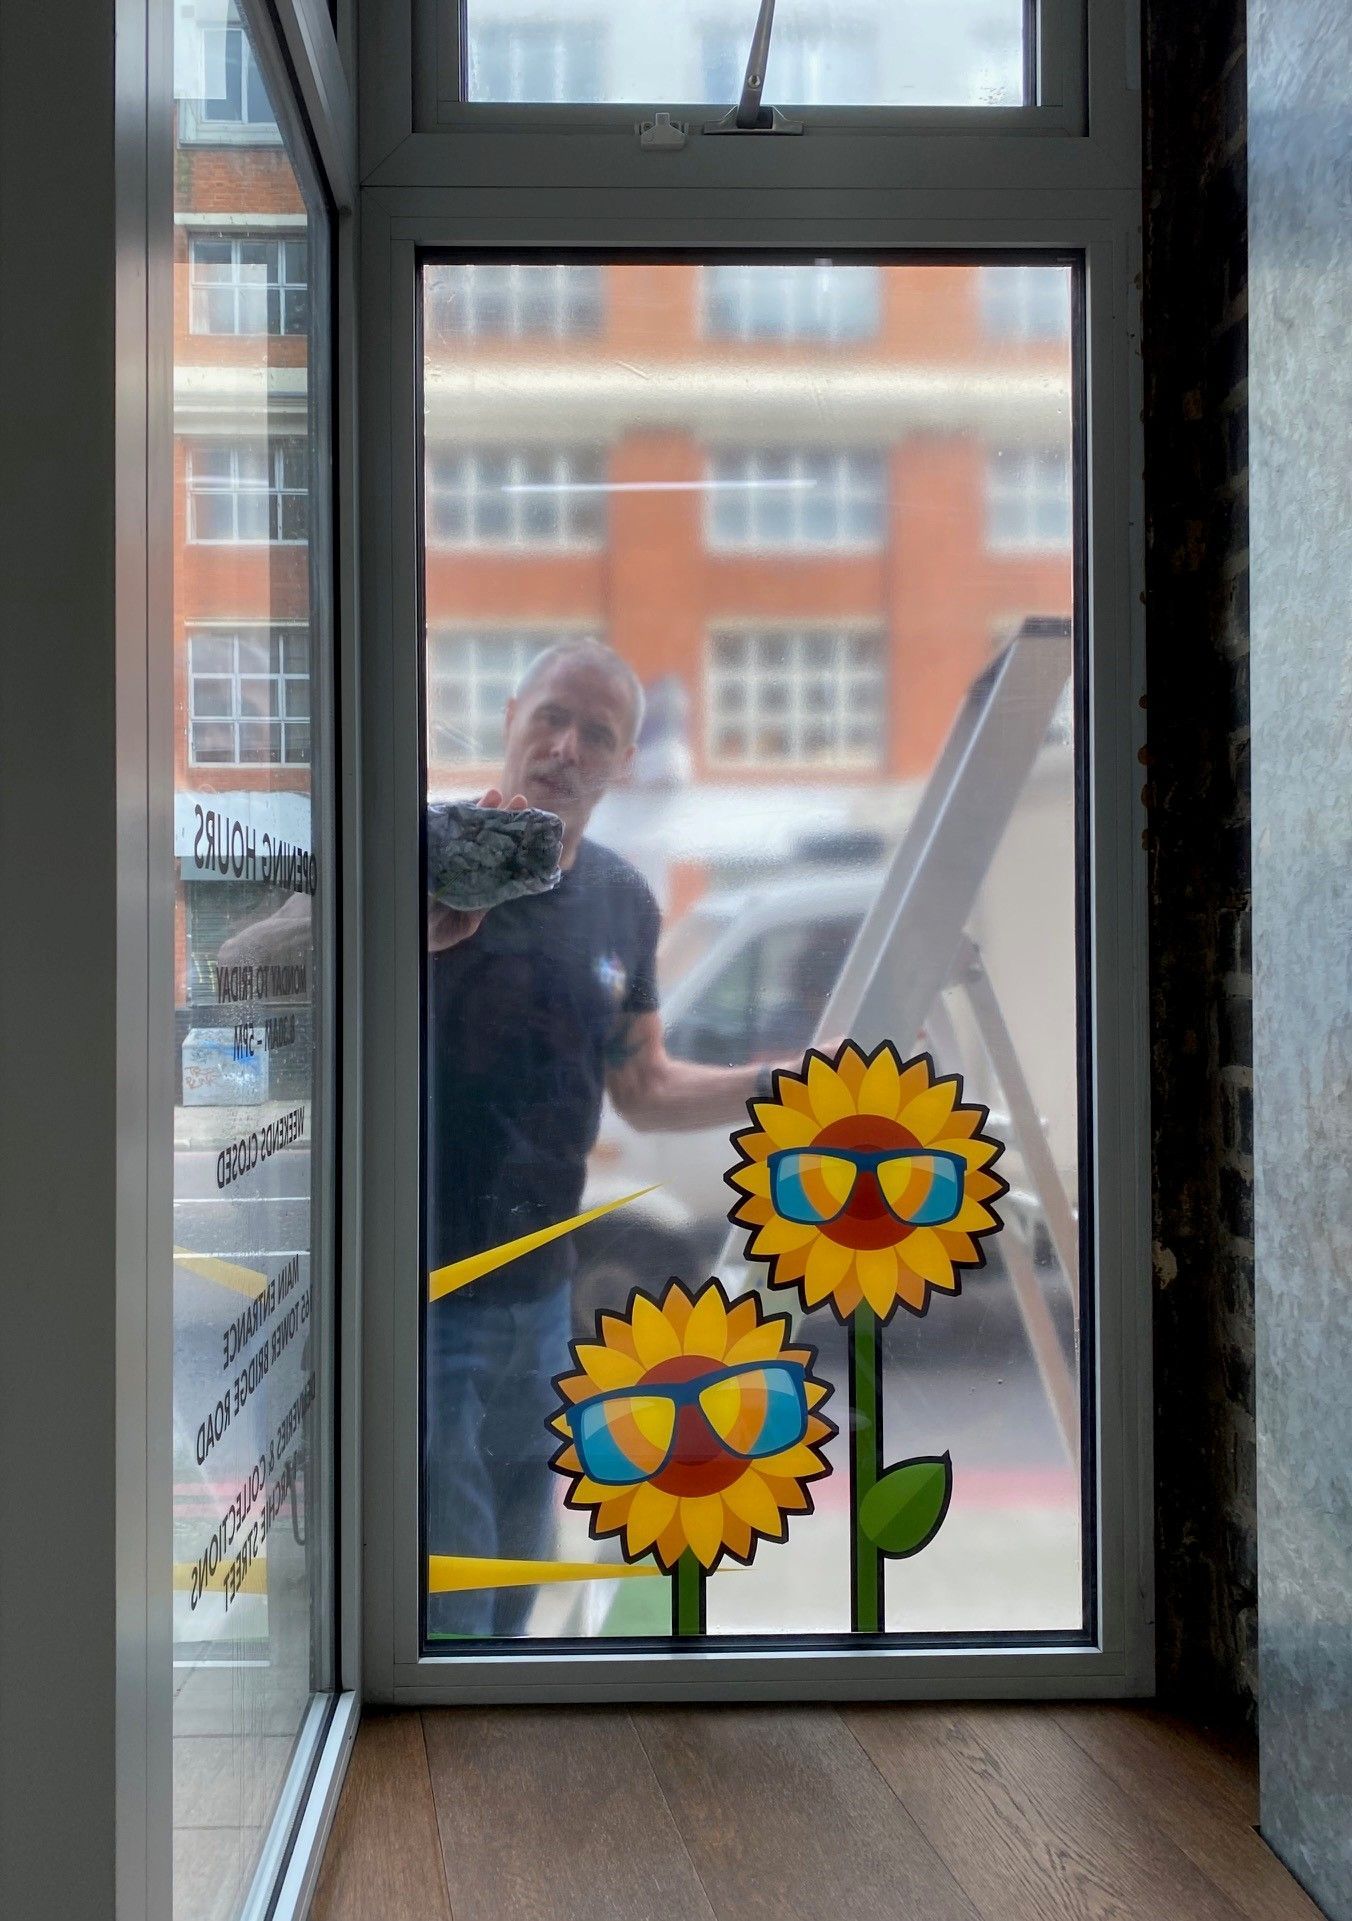
8. Reflection
Slow and steady wins the race, don't rush this job. It's worth taking your time, getting it spot on and pausing to check the right panels are in the right place!
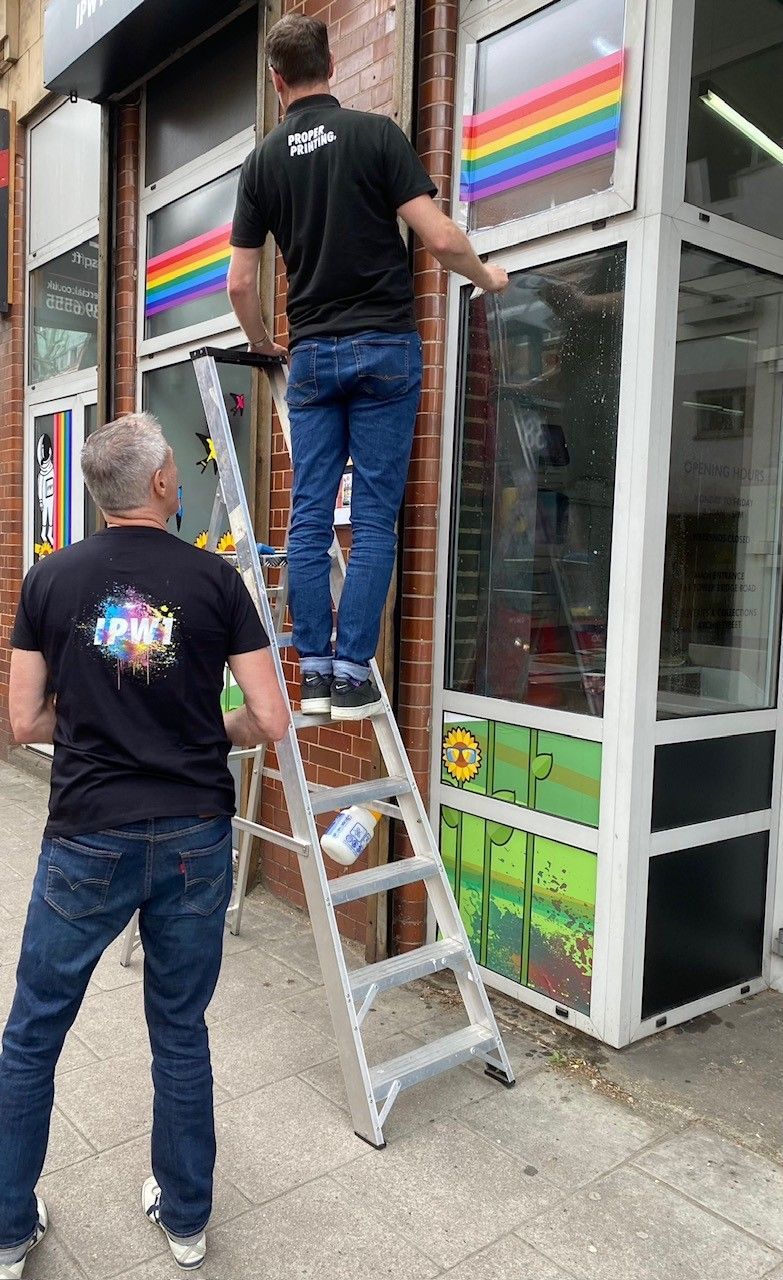
9. Ladders - right tools for the job
We know you know this but! If you do need to use a ladder make sure someone is there to hold it for you. We've Got This!
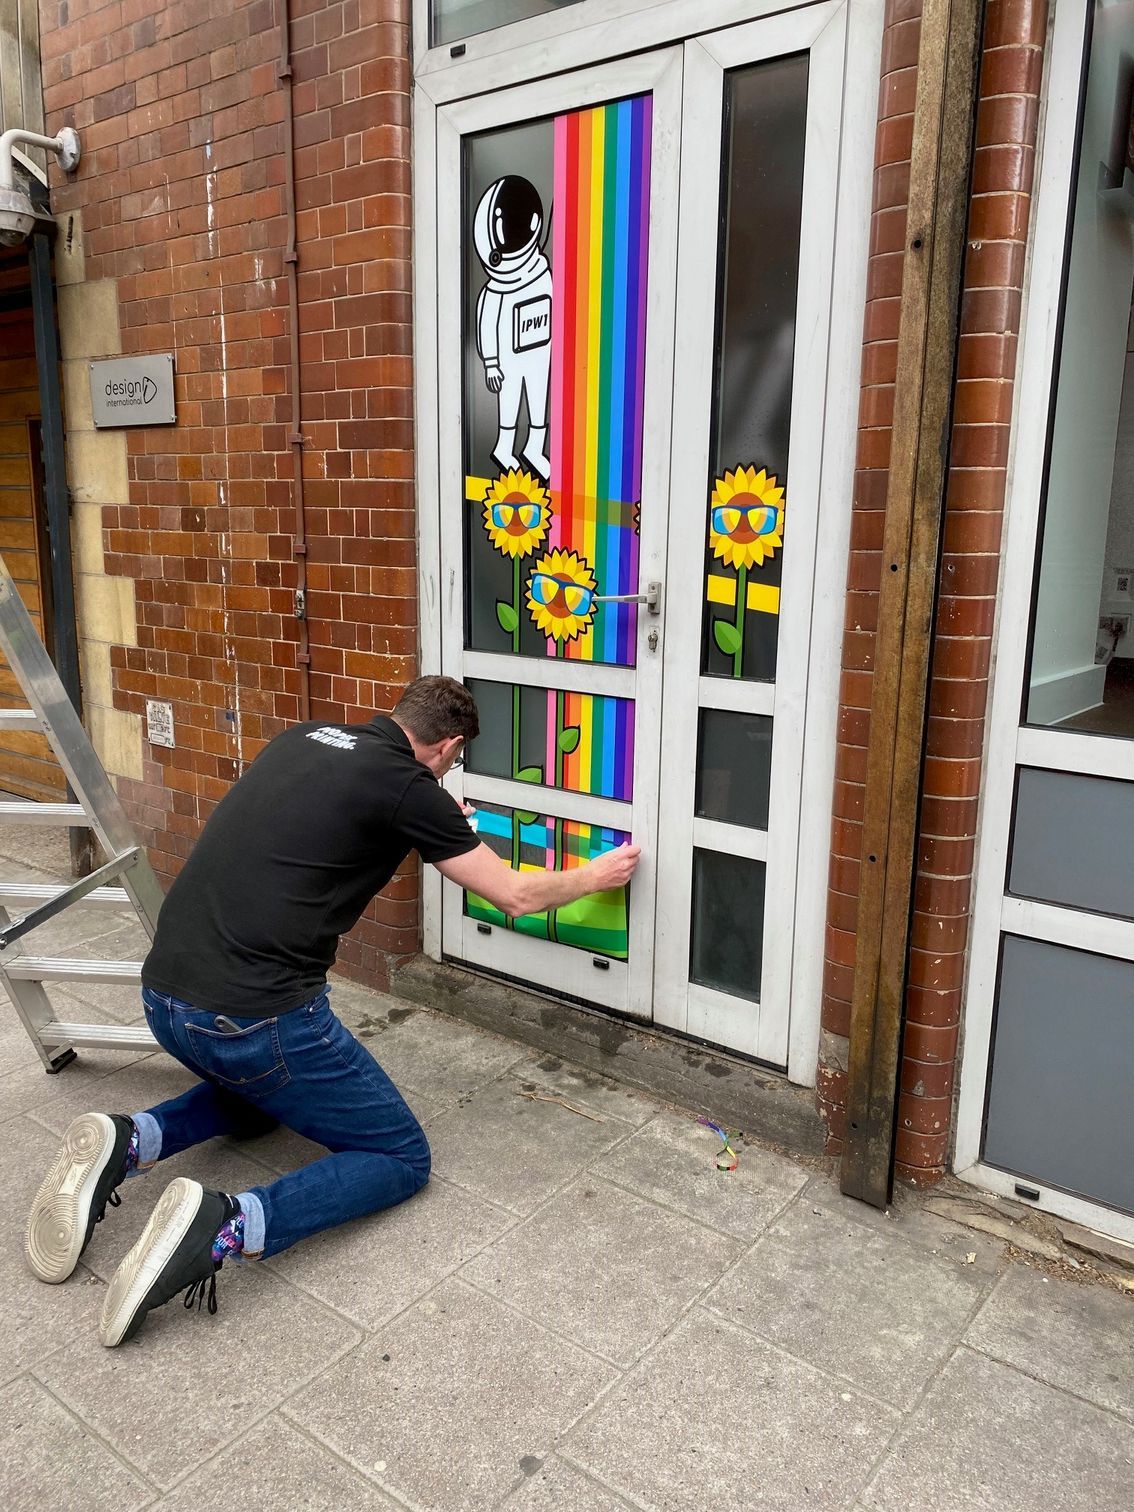
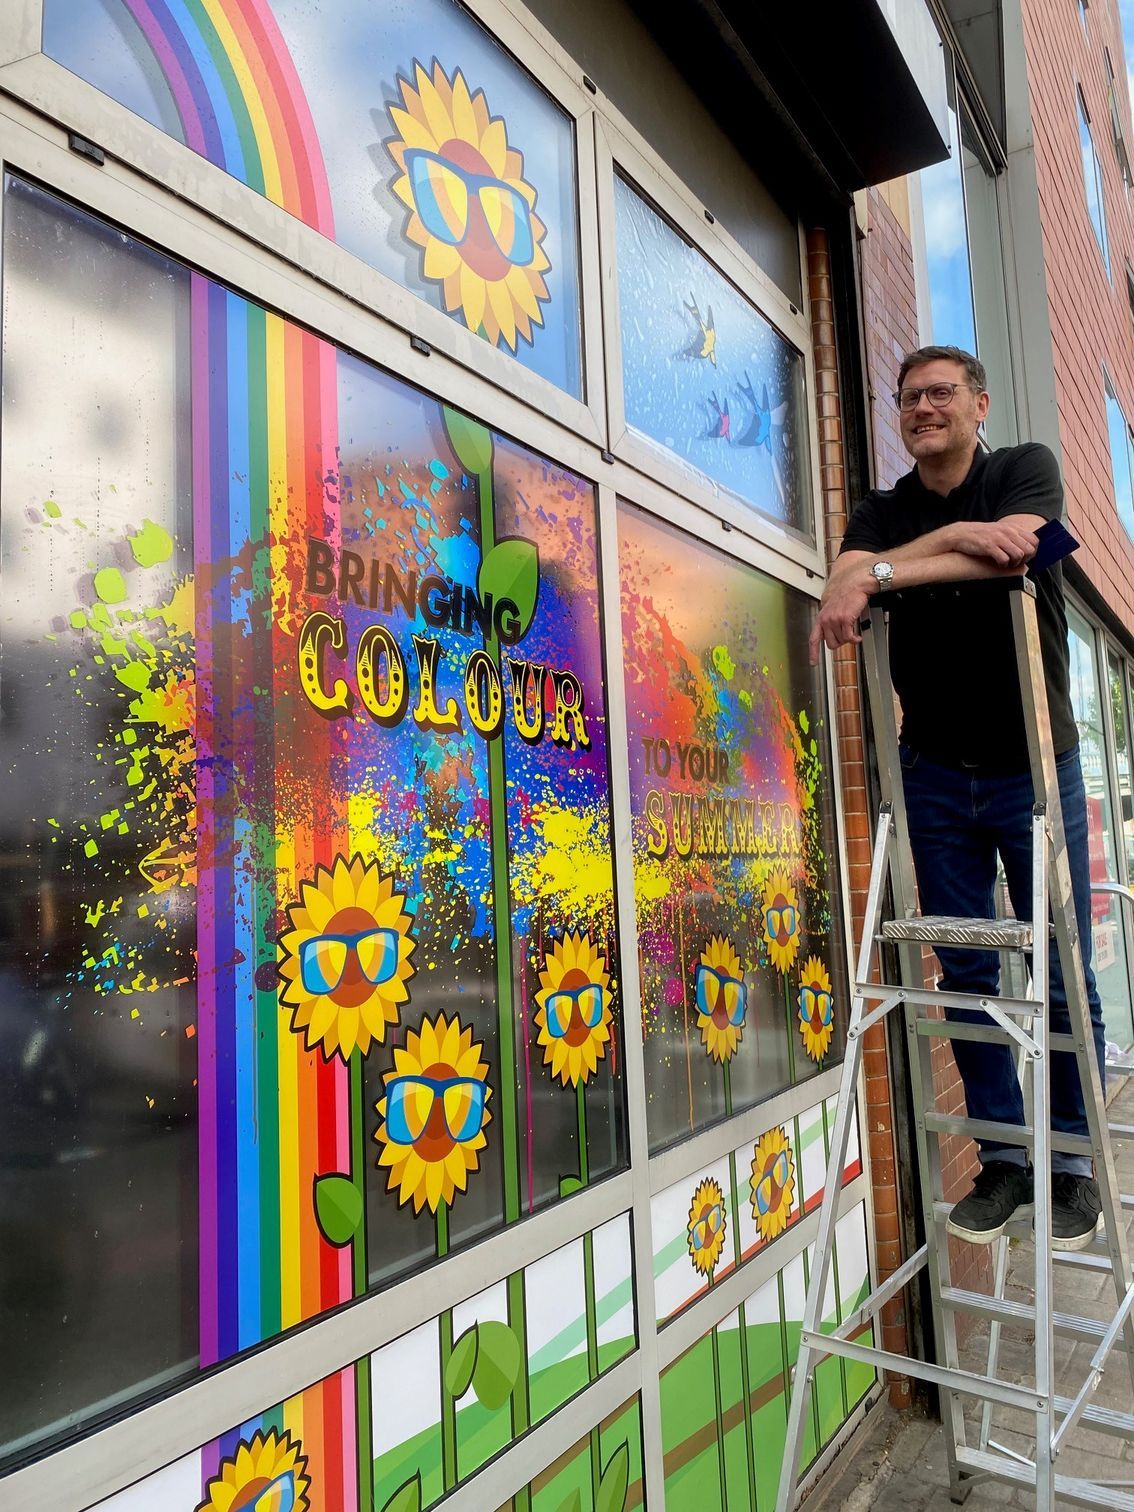
10. Sunshine, Lollipops and Rainbows - it's a wrap!
Now don't worry if there are a few bubbles left, water marks or streaks - these will dry out overnight, with remaining bubbles worked out the following day.
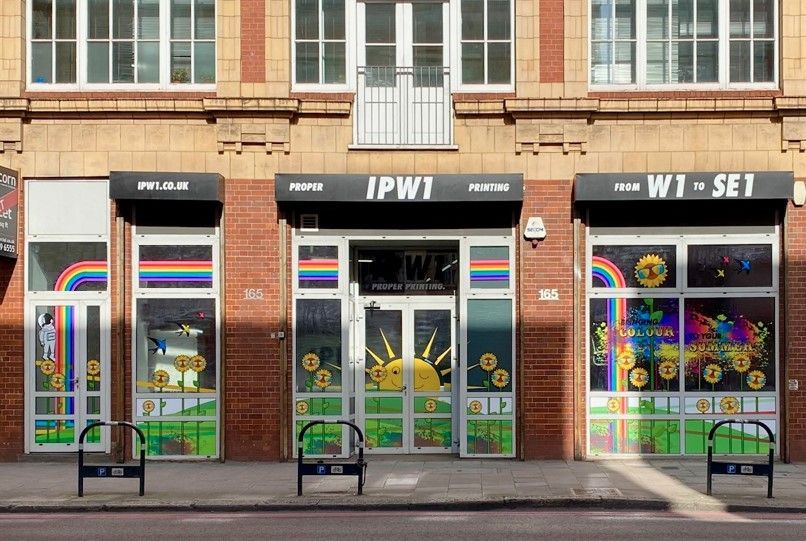
Time to admire your new window vinyls, you deserve it and you can be sure your customers and passer-bys will too!
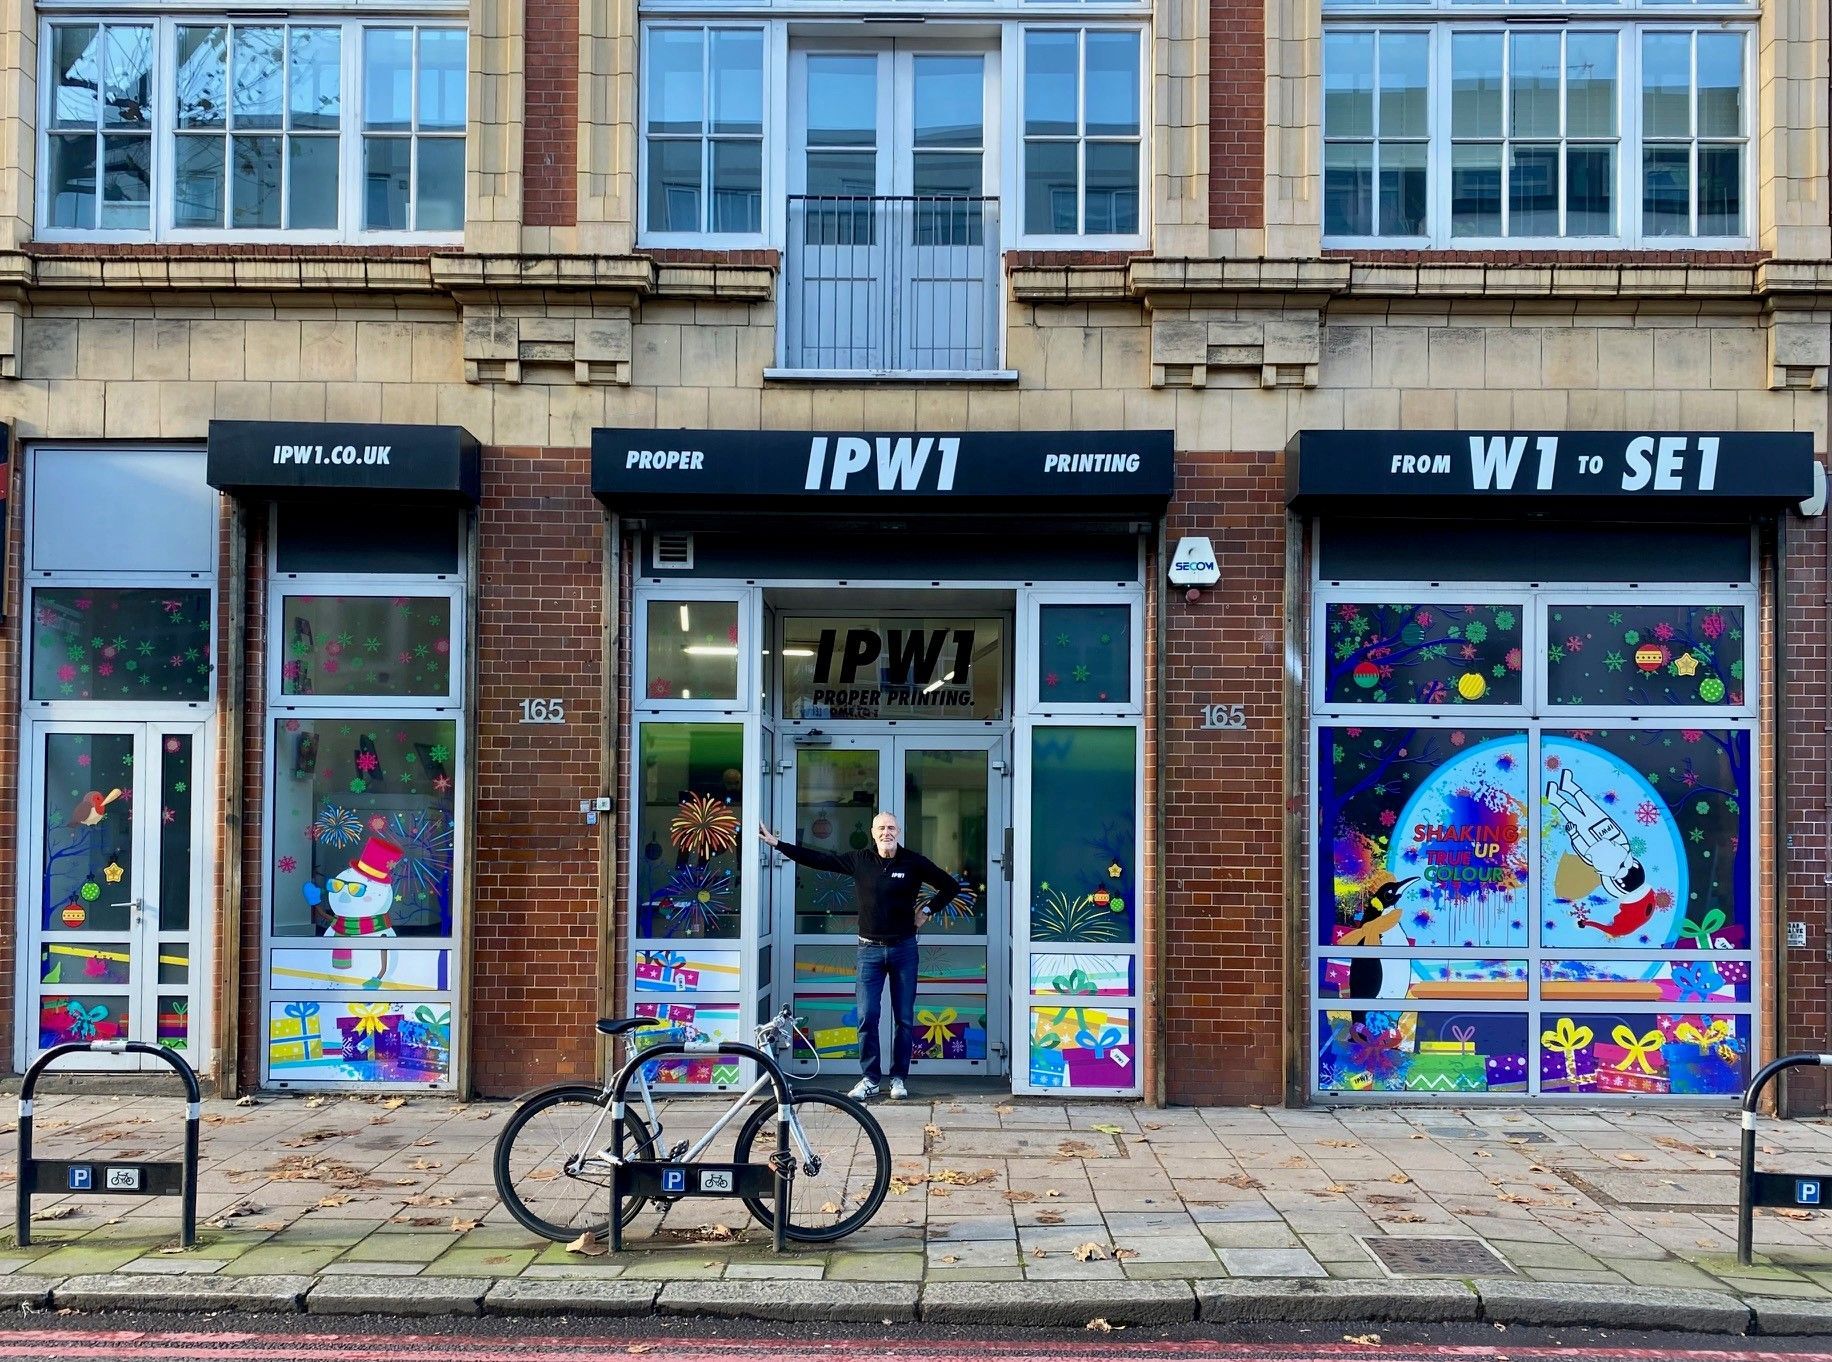
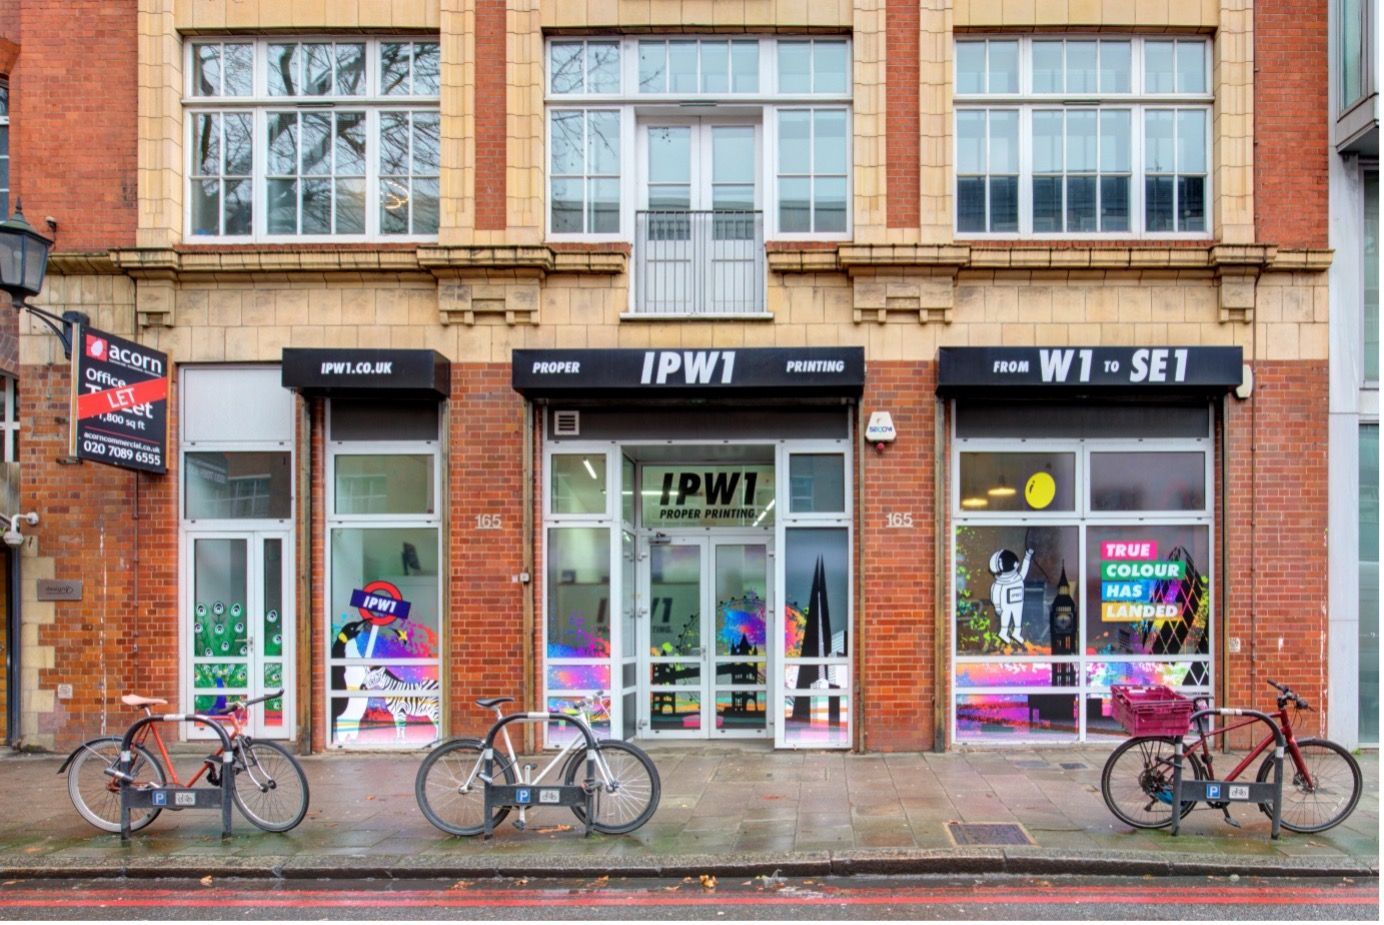
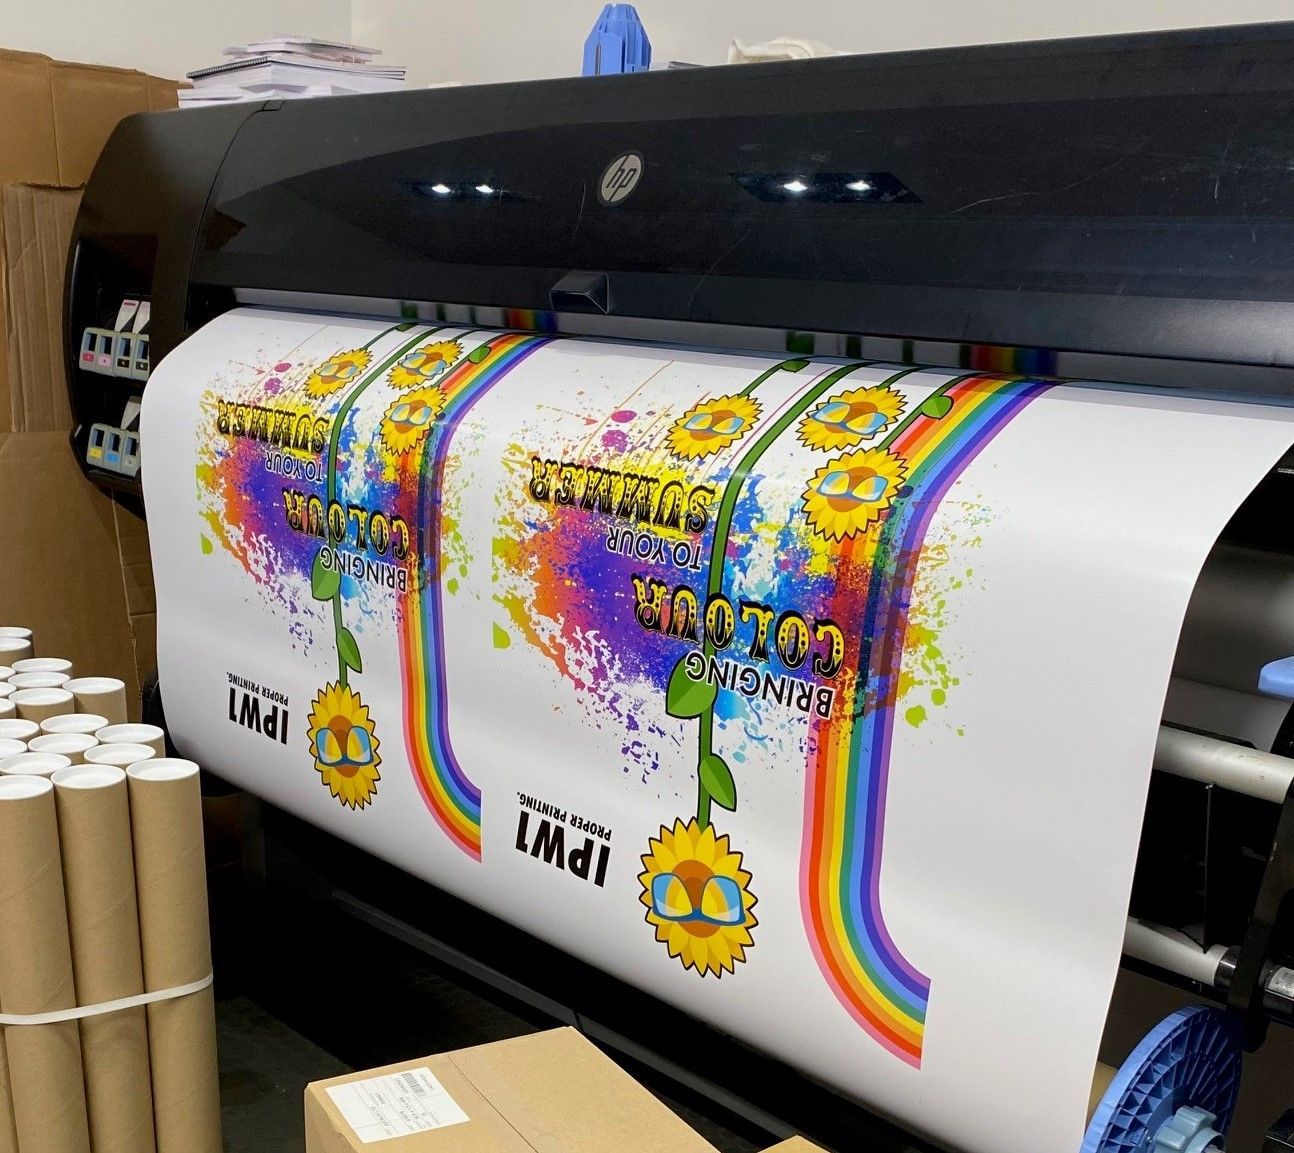
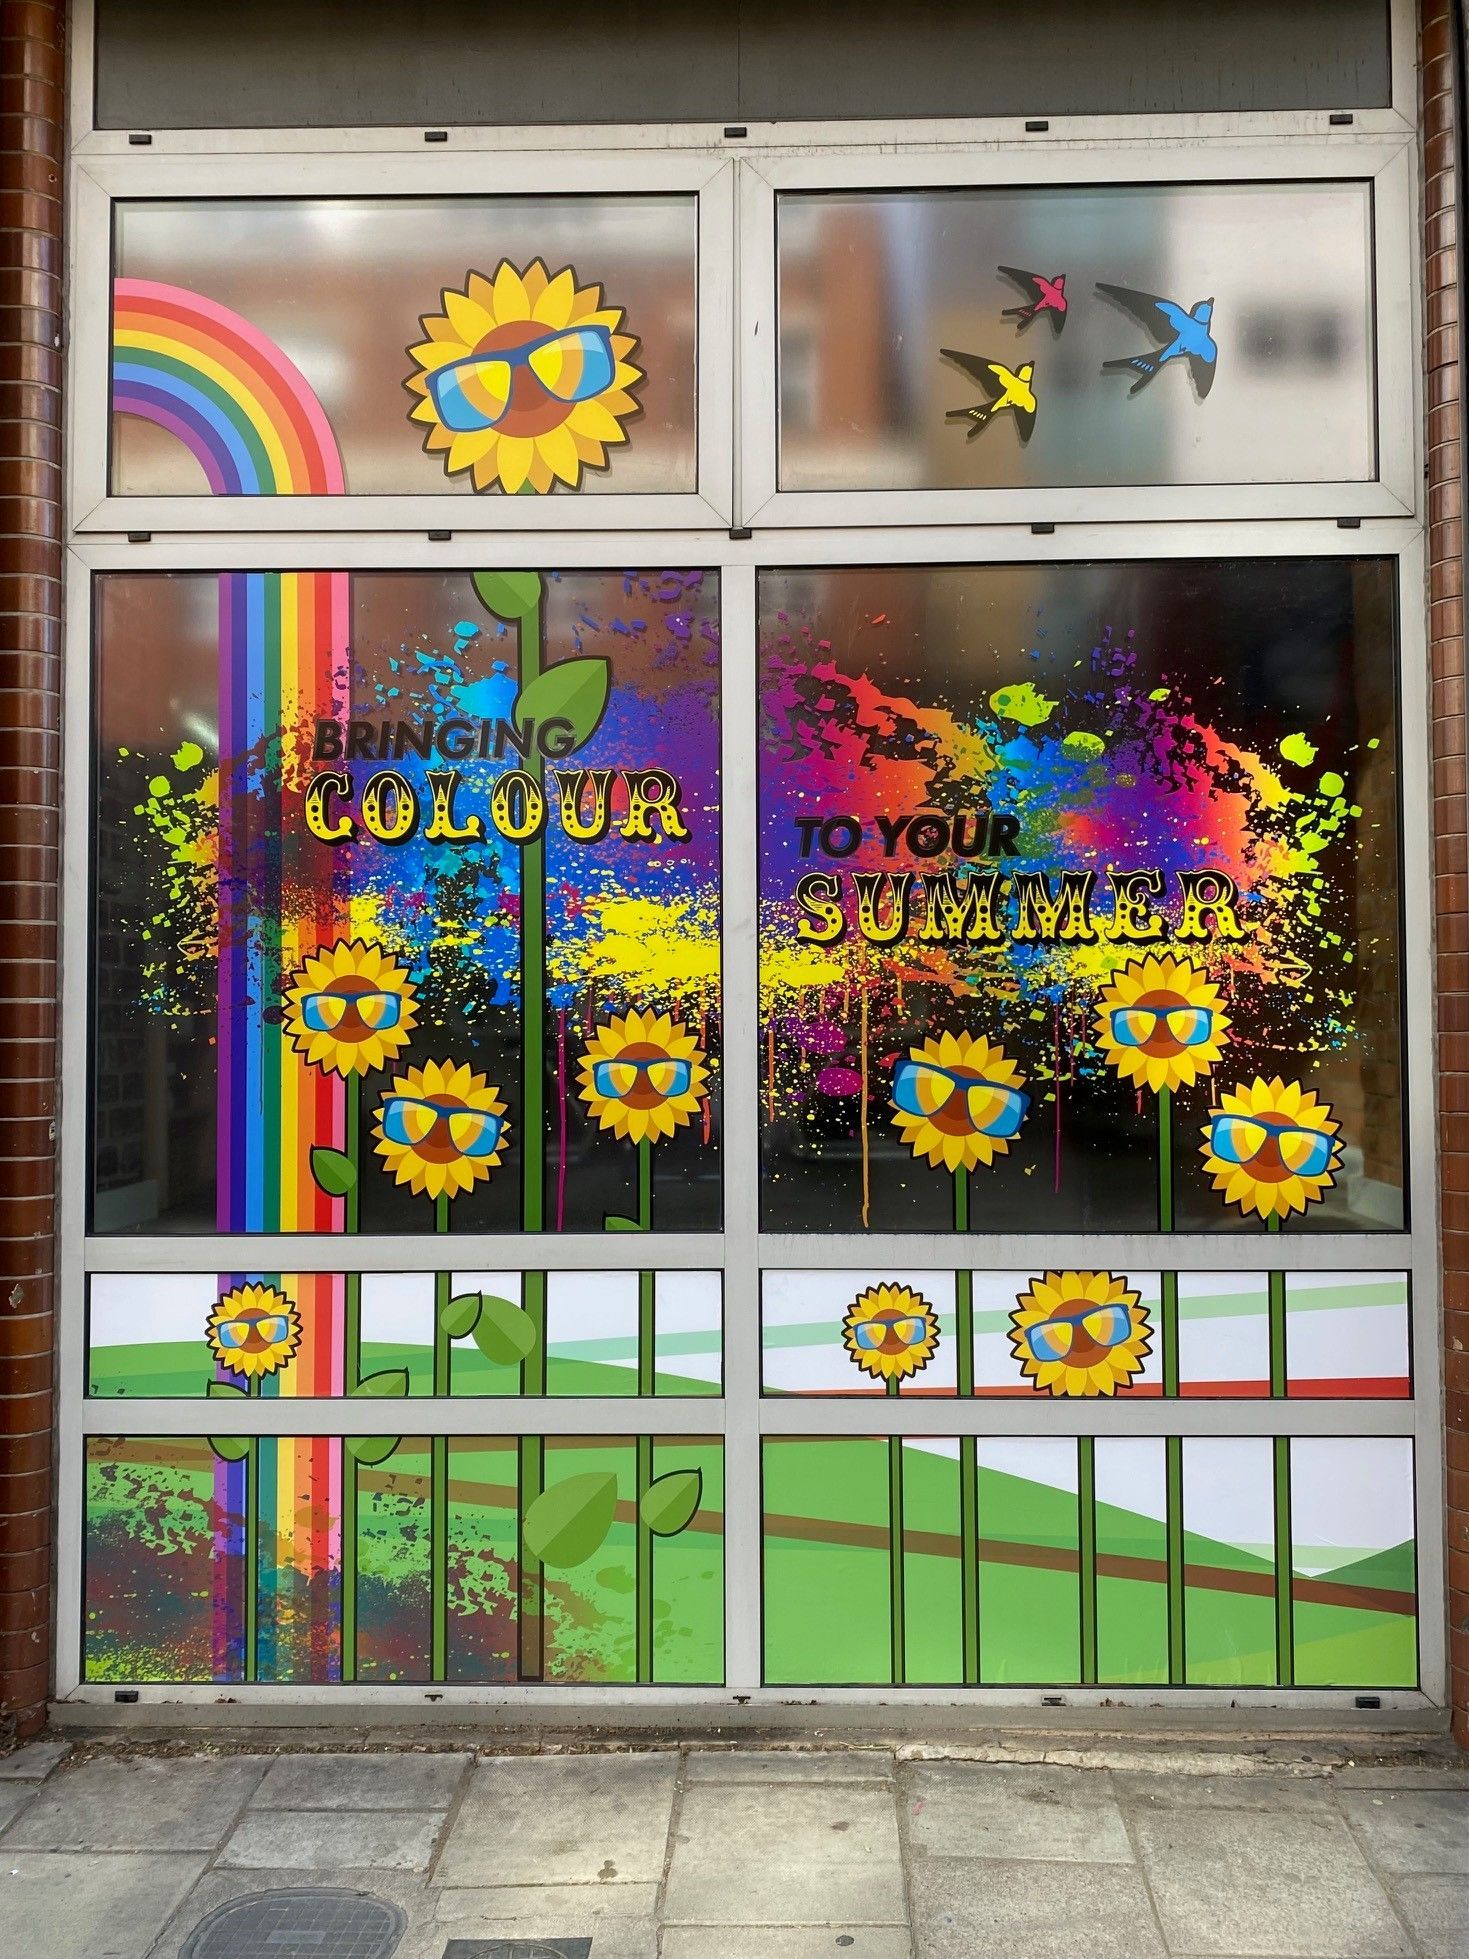
If you are in SE1 drop by and enjoy the Sun with IPW1, we're Bringing Colour To Your Summer [and all the other seasons too!]
Scott's How To Guide...
Get in touch with IPW1
There are savvy tips and tricks you can use to enhance your designs and get them print-ready. At IPW1, we’re always on hand to provide the help and support you need. Our dedicated team have plenty of experience when it comes to creating and editing your window vinyl artwork. If you’re stuck for inspiration or you’re unsure about your installation, talk to our team today.
Simply contact IPW1 on 020 7437 3200 or email us at hello@ipw1.co.uk.